Disclosure: This post may contain affiliate links, which means we may receive a commission if you click a link and purchase something that we have recommended.
We moved into our current house almost one year ago. During that year we have done a lot of renovating, repairing, and updating. Initially, we were thinking about getting a new front door but decided it’s not a priority with all of the other to-do items on our list. The one thing about our front door that we dislike is the huge, clear window. We live on a main road in town with lots of vehicle and foot traffic and we prefer that the entire city not see directly into our home at any given time. As a temporary fix, for the last several months the window was covered with a DIY Roman Shade. This method worked great, but it blocked out “too” much light for my liking, making our entryway very dim and dark.
Last week we decided to update the door so that we could allow light in while blocking the outside view in. Enter Rust-Oleum Frosted Glass. I have used this product before on bathroom windows and I love it. It’s cheap, it’s easy, and if you mess up, you can scrape it off and start over. Being removable is also handy when you have ever changing decor ideas.
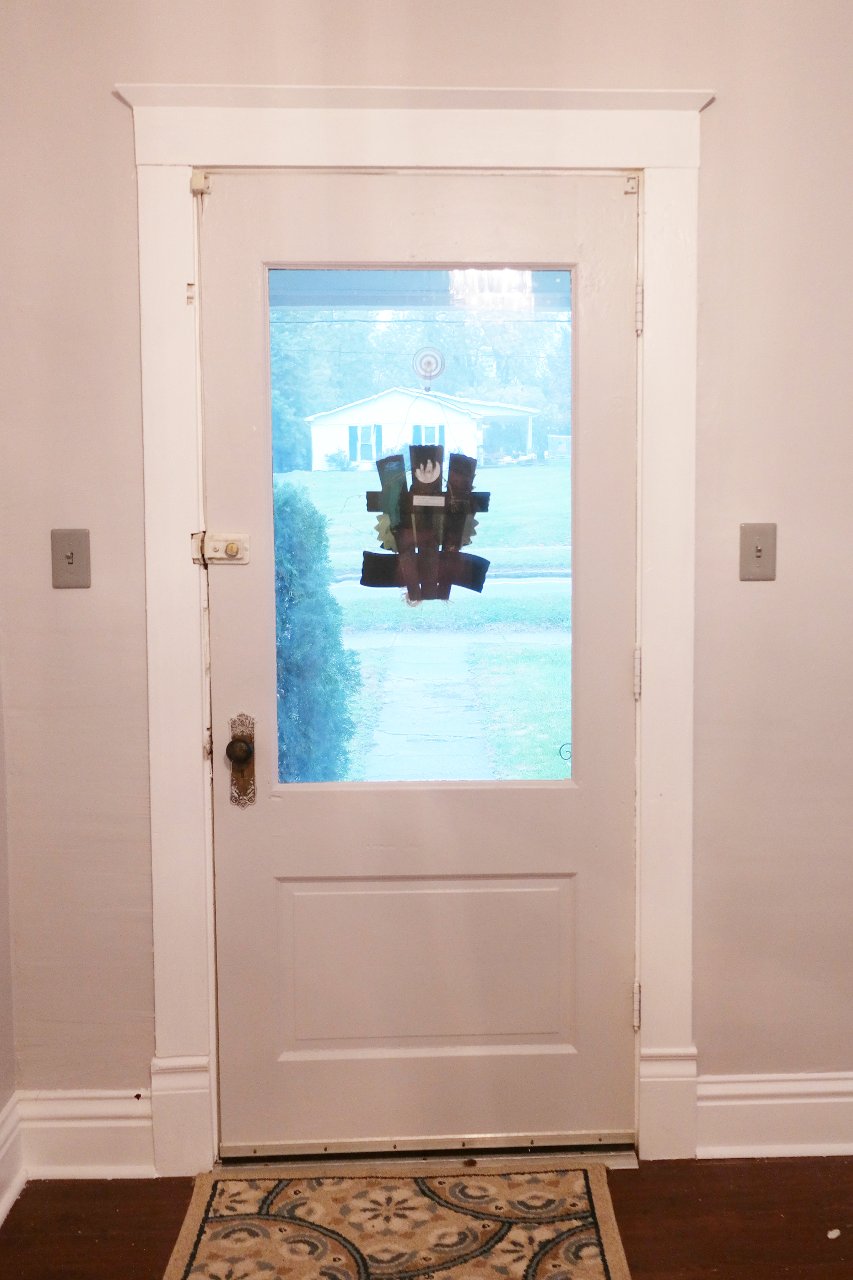
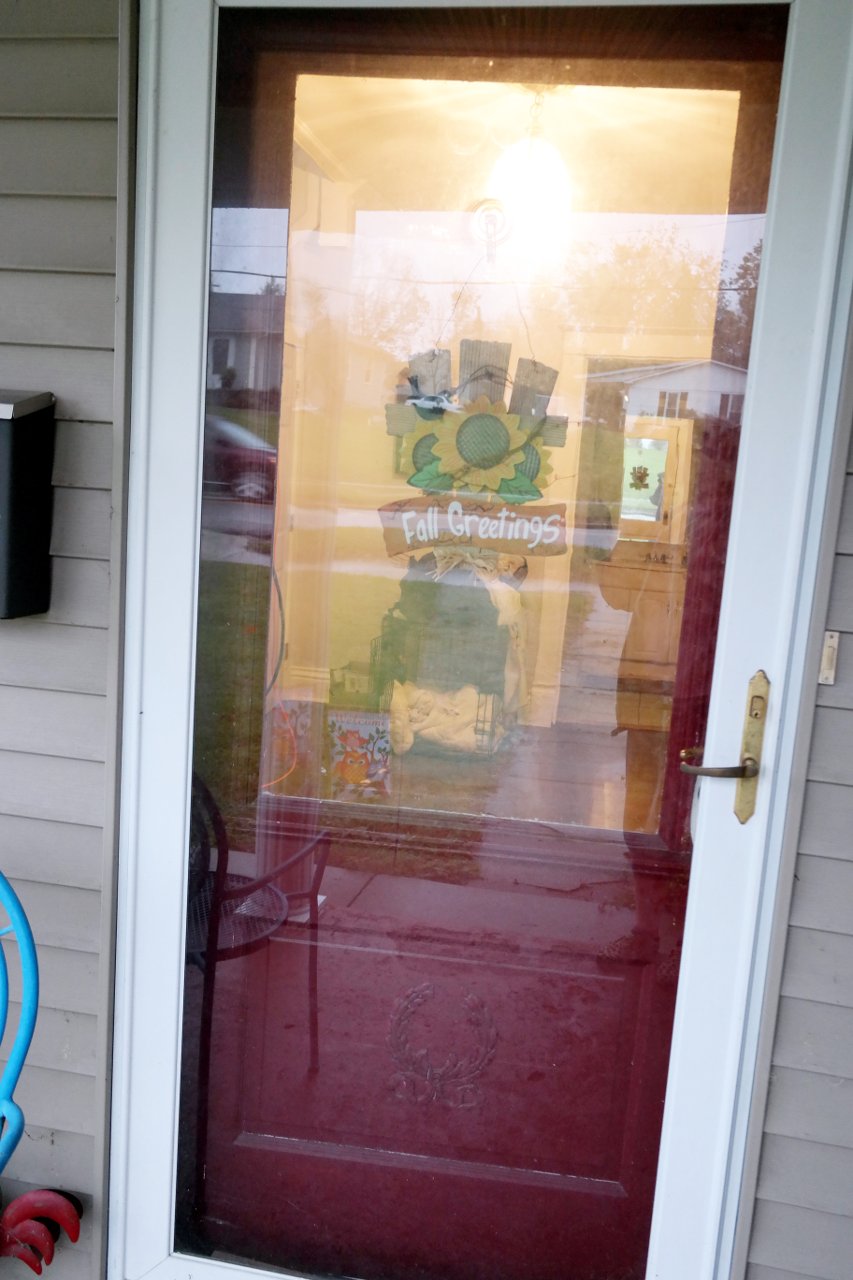
So this was what our front door looked like before this project. See how it just gives a great view inside our home? Not cool!
How to Get this Frosted Window Look
The first thing you need to do is use rubbing alcohol to very, very thoroughly clean the window. You don’t want any dirt, grime, or dust on the window, otherwise, the frost will not adhere properly.
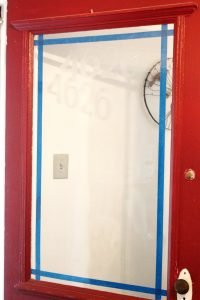
Next, use a tape measure and a dry-erase marker to mark your measurements for the outside border lines. These lines were created with 1″ painters tape. After your painter’s tape is in place, use a credit card or other flat object to squeegee out any bubbles or air pockets. This also ensures that the tape is stuck down really well on the edges so the frosting doesn’t leak under the tape during application.
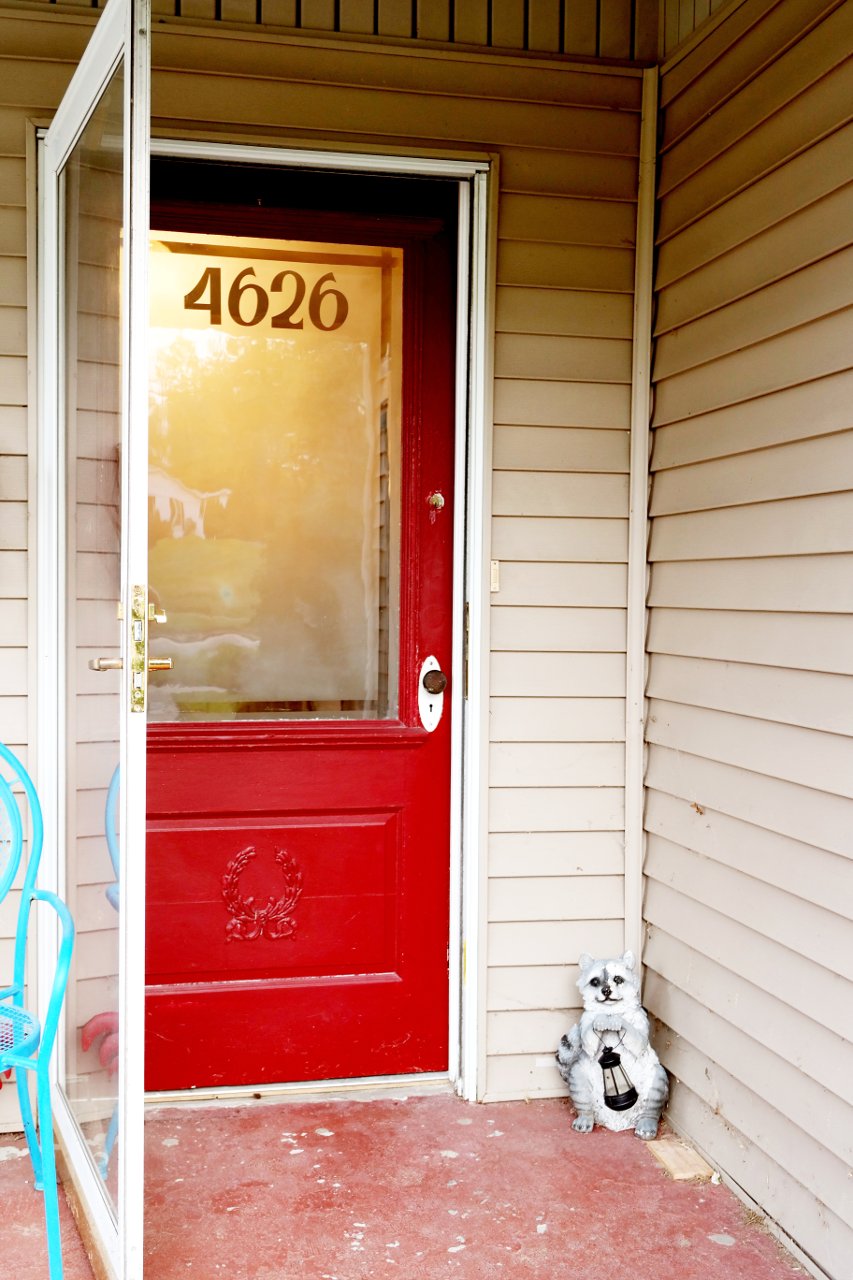
For the house numbers, I used my Cricut Maker to cut the numbers out of clear contact paper. (I used the standard blade and the vinyl setting on my machine. Don’t forget to reverse your image before cutting). If you do not have a cutting machine, you can use a stencil or free-hand your numbers and cut them out with scissors. Again use the dry-erase marker to mark out the measurements of where to place the numbers. Then place the contact paper numbers on the door and squeegee out air bubbles. I recommend going back with a rag and rubbing alcohol to wipe down the glass around your tape and contact paper to remove any fingerprints and dry-erase marker marks on the door before frosting.
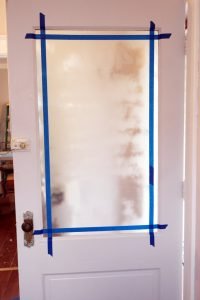 Next, open some windows and turn on a bathroom fan vent because this stuff gets stinky! Luckily the smell doesn’t hang around too long but do be sure to ventilate well.
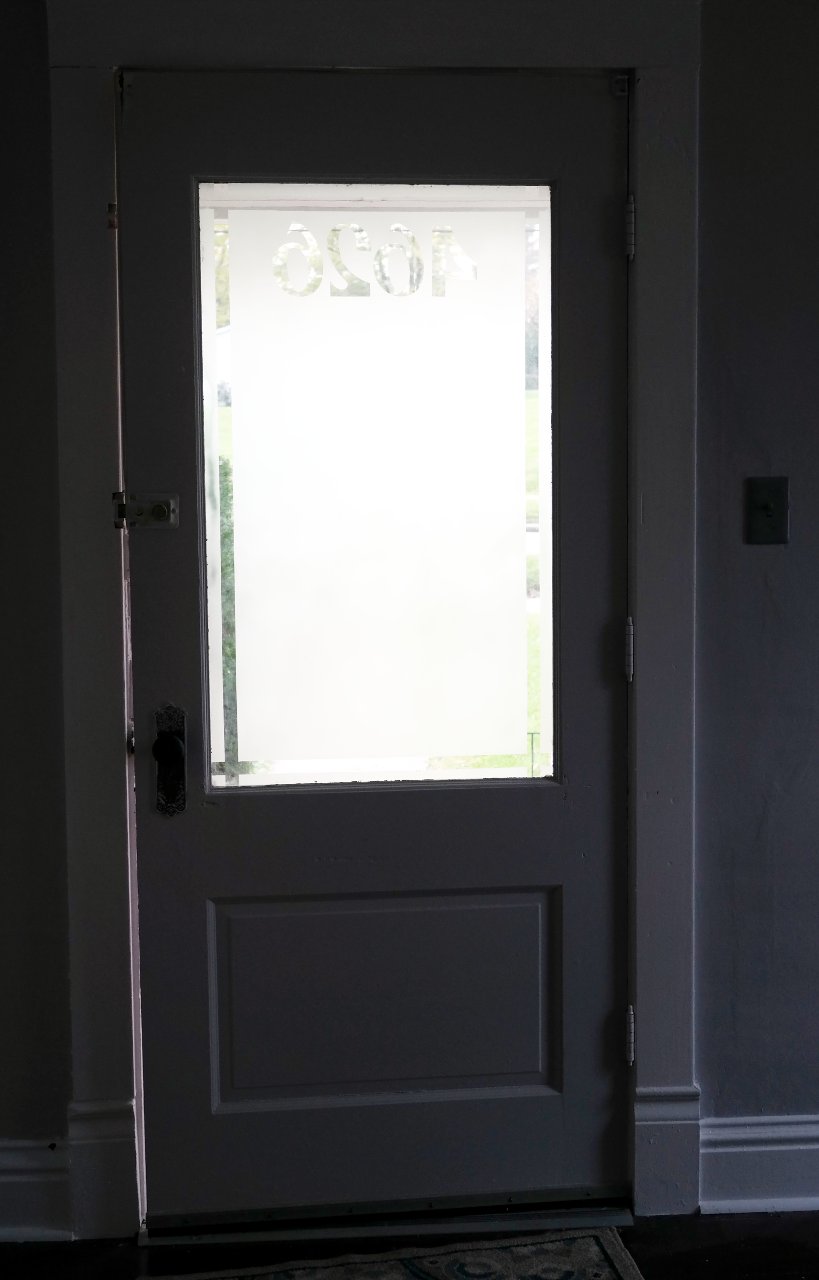
Spray a layer of the frost on the door in even movements while holding the spray can about 10 – 12 inches away from the door. Wait about 10 minutes and spray on a second coat. After another 10 minutes, spray on the third and final coat. While the spray is wet it will look splotchy and shiny, but as it dries it will take on the frosted look.
Immediately remove your tape and contact paper after your last coat to prevent the tape from pulling up the frosting.
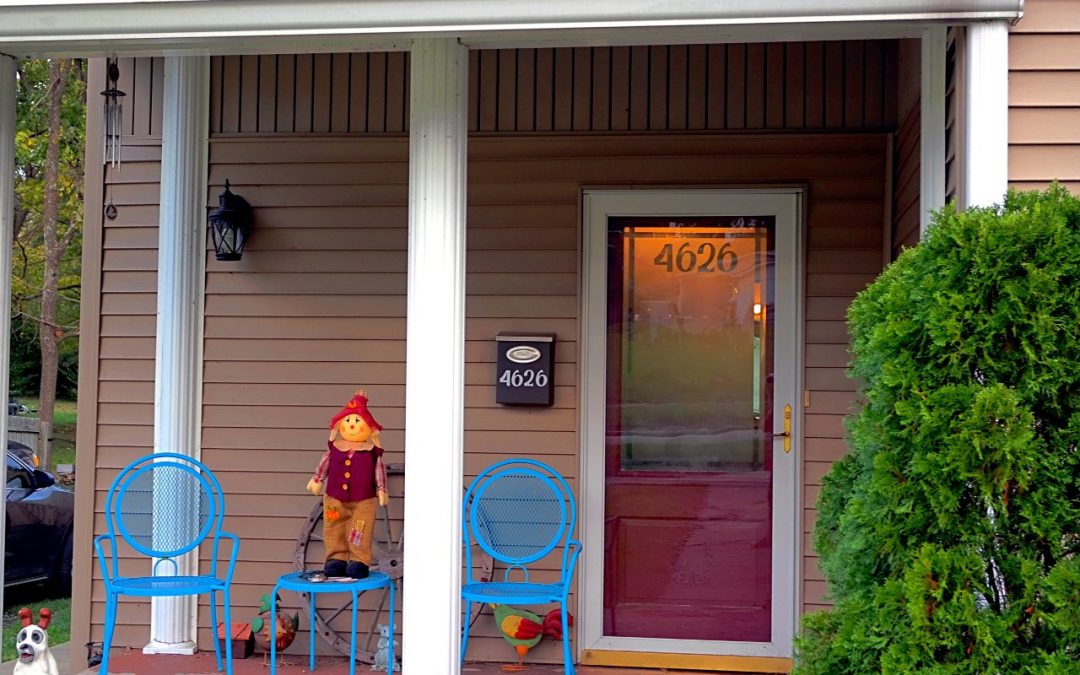
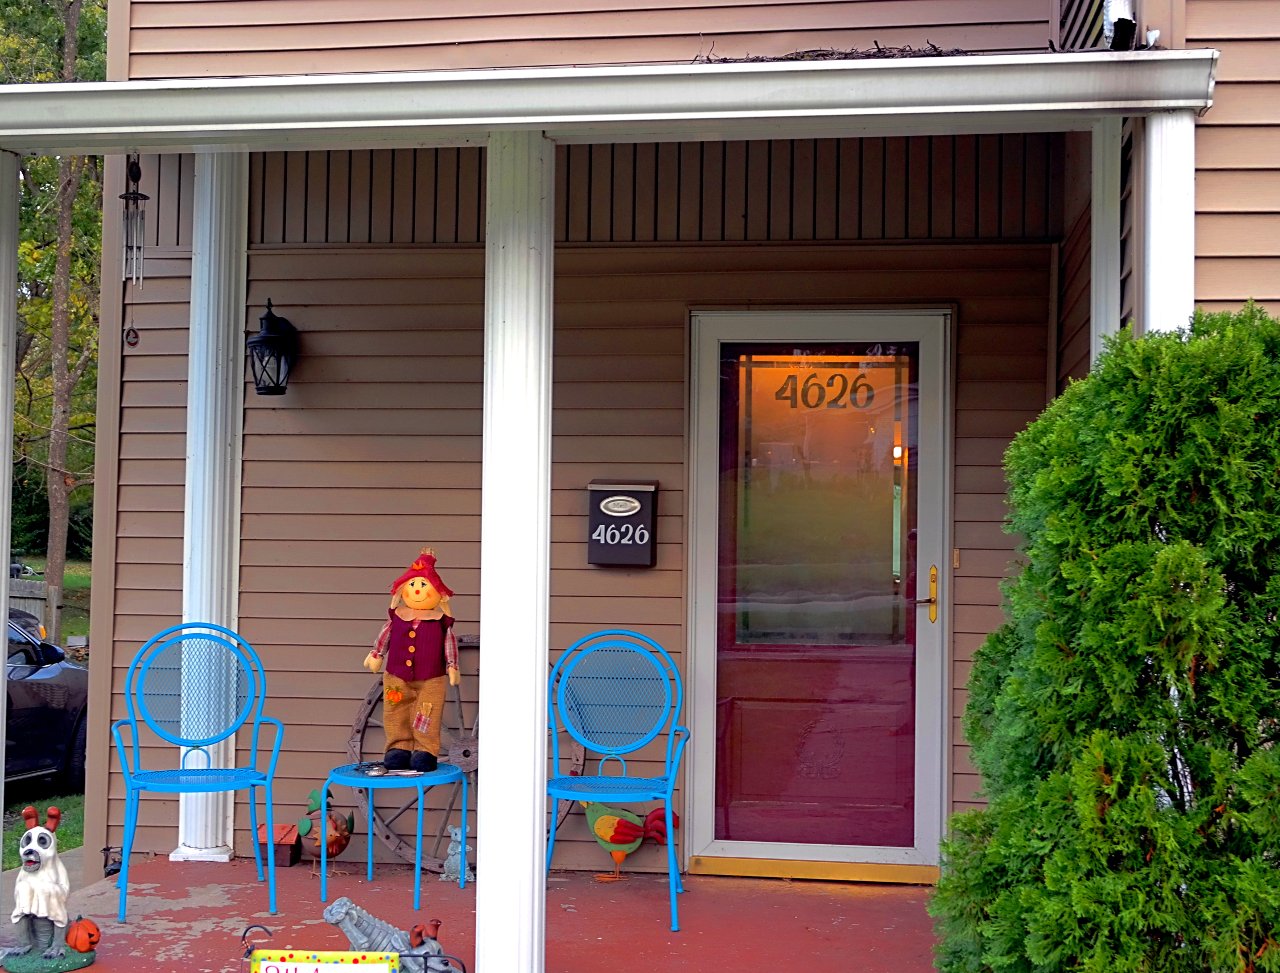
Step back and admire your new window! Now you have nice, filtered, natural light coming in but the world outside can’t see in! You can make any window designs that you want using tape, contact paper, or vinyl.

